
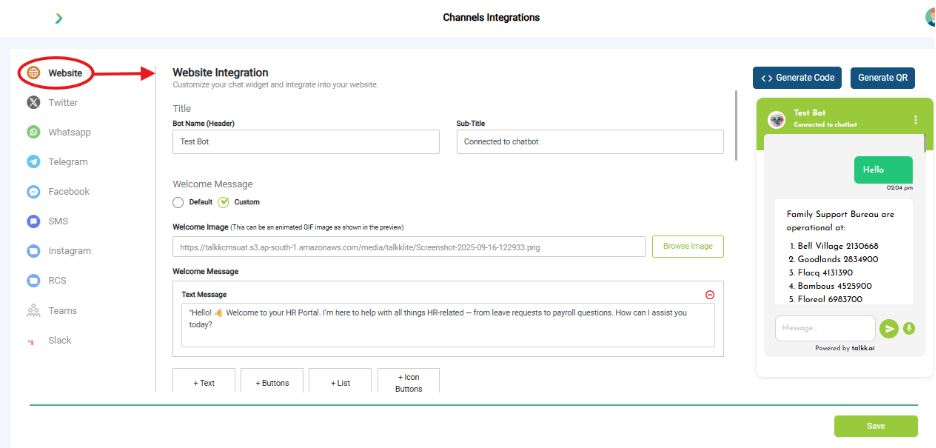
What you see:
- Bot Name & Subtitle
- Welcome Message (text + buttons + list + icon buttons)
- Welcome Image Upload (supports animated GIFs)
- Chatbot Theme & Styles:
- Bot Icon Shape
- Background & Font Colors
- Chat Window Styles
- Message Input & Send Button Styles
- Chat Bubble Styles (Bot/User/Agent)
- Profile Icons & Timestamps toggle
- Button Styling
- Primary & Secondary Colors
- Hover Effects
- Font Colors
- Suggestion Button Styles
- Generate Code
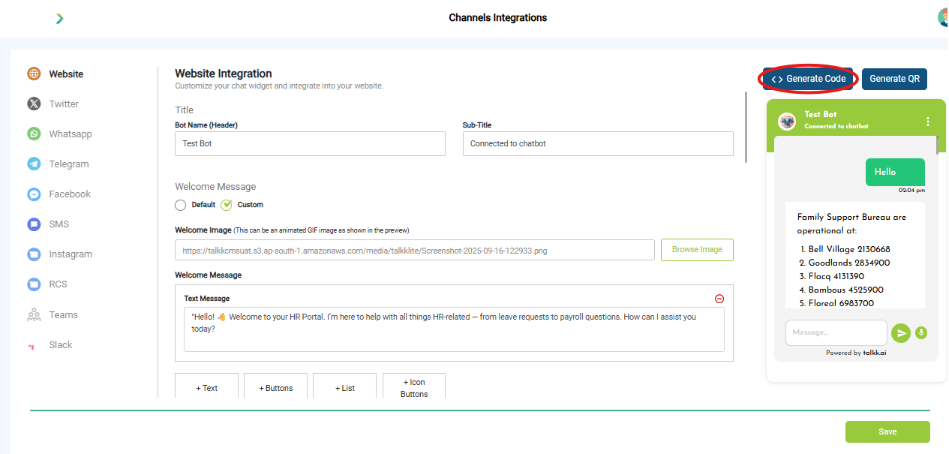
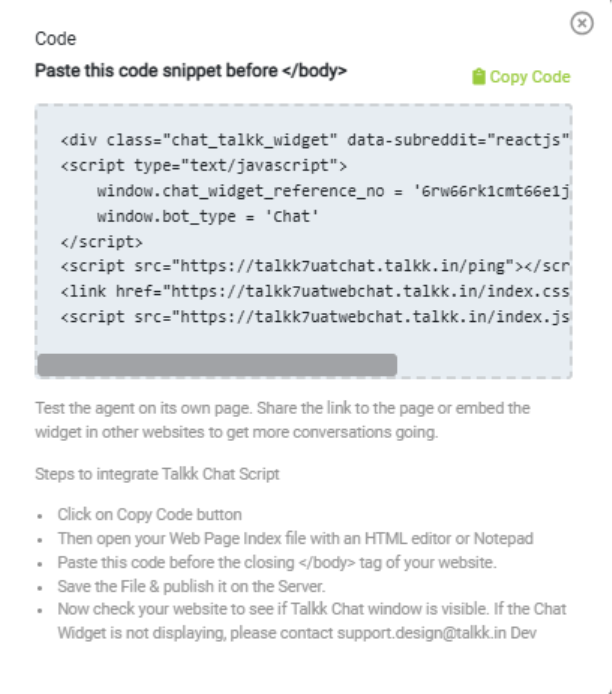
- This button creates a code snippet (usually HTML/JavaScript) that you can embed into your index.html file.
- It allows you to integrate the chatbot directly into your website.
- Generate QR
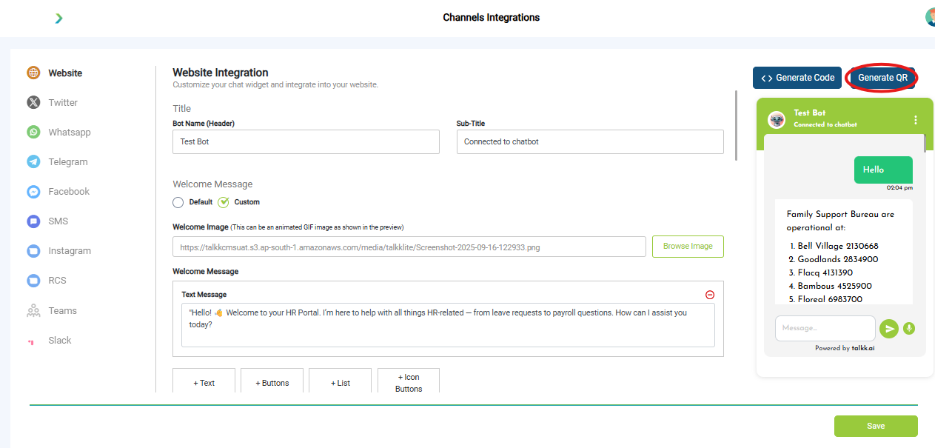
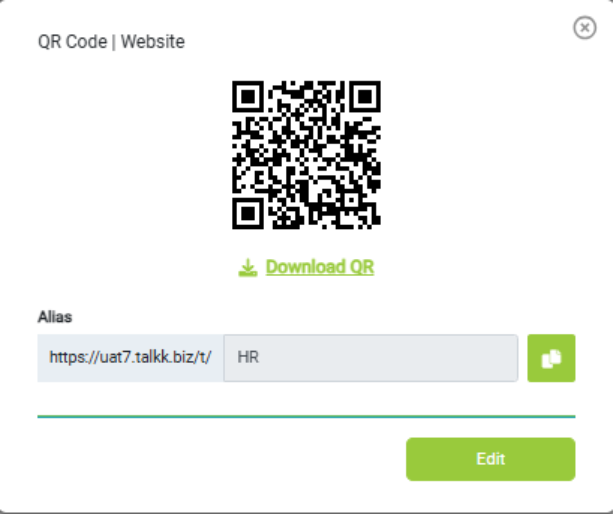
- This button generates a QR code that can be scanned using a mobile device.
- Scanning the QR code opens a preview of the bot, making it easy to test or share access without embedding it.
Why it matters:
- Website is the fastest way to test your bot in production.
- Whitelisting secures widget to approved domains.
What you need before this step:
- Access to website code.
- Brand assets (colors, logos).
Outcome after action:
- Chat bubble appears on your site.
Best practice:
- Place snippet before </body> tag.
- Test across browsers.